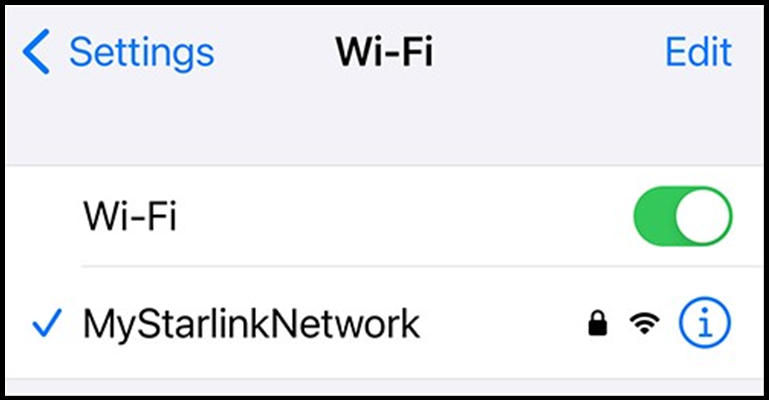
If your system is equipped with a Starlink router, we strongly recommend that you assign a password to your Starlink’s Wi-Fi network to prevent unauthorized access, unless you are pairing your Starlink system with an antenna system, you may also change the name (SSID) of the network. Follow the steps below.
Step 1:
- Connect your mobile device to the STARLINK or STINKY Wi-Fi network (no password).
Default Starlink Wi-Fi Network Connection
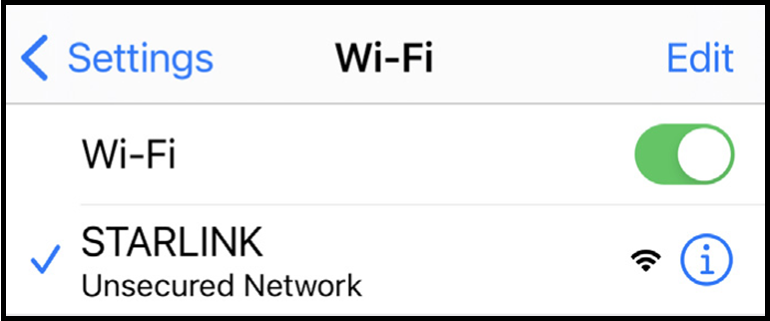
If you do not see this network, perform a factory reset of the Starlink router:
Starlink Gen 3 Router Factory Reset Button
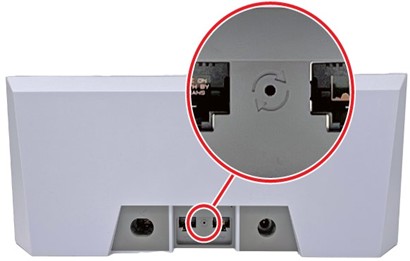
Starlink Gen 3 router: Remove the rubber cover protecting the Ethernet ports on the rear panel. Then, using a paper clip (or equivalent), press and hold the Reset button located between the two Ethernet ports for 2-3 seconds. The light on the front of the router will blink fast for a few seconds then blink slowly for a couple minutes while the router initializes.
Starlink Gen 2 Router Power Cable Connection
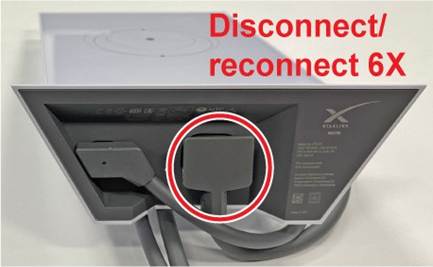
Starlink Gen 2 router: Cycle power (unplug then plug back in the AC power cord) on the router six times in a row, allowing 2-3 seconds between power cycles. Then wait a few minutes for the router to initialize.
Step 2:
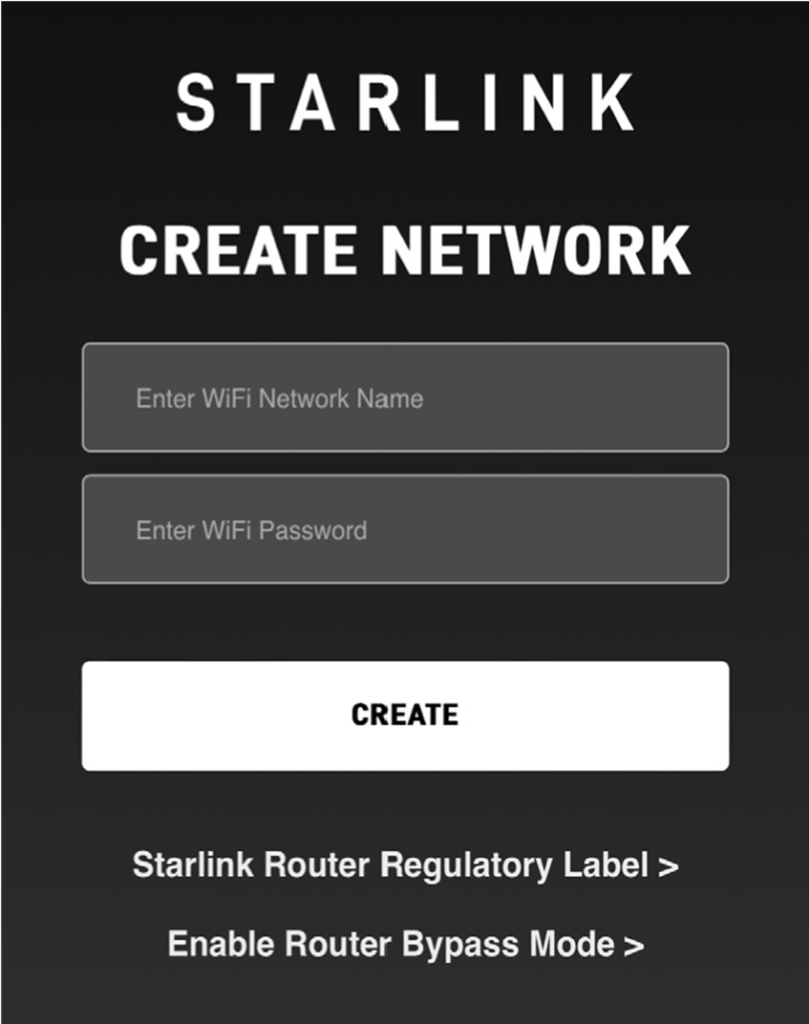
- Open a web browser and go to 192.168.1.1. You should see “Starlink Create Network.”
Starlink Create Network Page
Step 3:
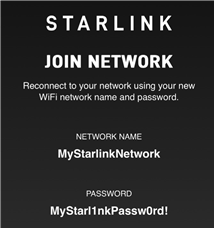
- Enter a new name and password for the Starlink Wi-Fi network. Then select CREATE. A confirmation screen will appear.
Confirmation Screen
Step 4:
- Reconnect to the Starlink Wi-Fi network using your new network name and password.
Connection to Renamed Starlink Wi-Fi Network